
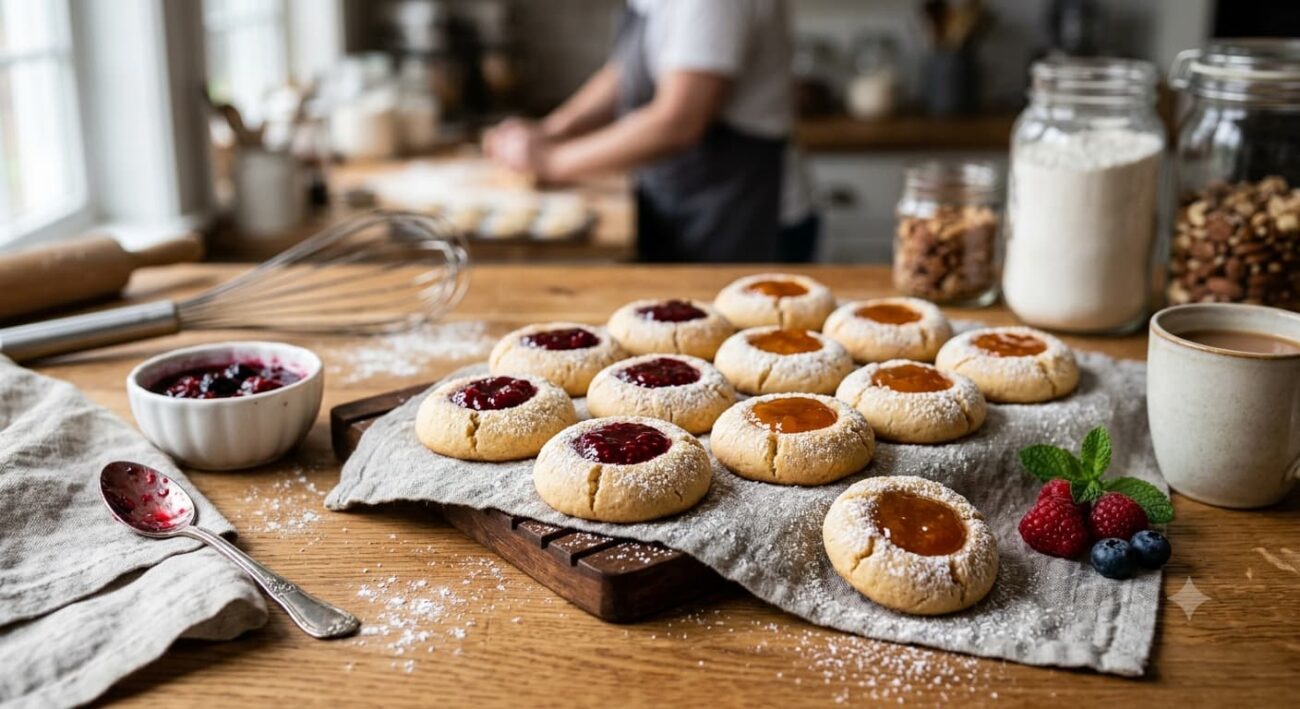
Hi guys. I’m Emily Carter, and on this AJ Zorvella Bakes, we’re making some easy, delicious thumbprint cookies, so let’s get started.First off, in the bowl of my stand mixer or a big bowl, if we’re using a hand mixer, I’m adding one cup or 226 grams of room temperature, unsalted butter, and just in case you’re curious, room temperature butter is not gonna be like totally melted. I can press down with my finger and leave an indent fairly easily. Plop that in, and we’re also gonna add 3/4 of a cup of granulated sugar, that’s 150 grams. Plop it onto your mixer. Paddle attachment on. I’m gonna beat this on medium for about a minute until it’s nice and combined.While that’s mixing up, I’m gonna separate two eggs. I’m only gonna use the yolks for this delicious recipe. This looks nice and creamy. So it’s time to add our egg yolks in, along with half a teaspoon of salt. I’m using a nice sea salt for this, and one teaspoon of vanilla extract. Mm, perfect. Now we’re gonna mix this up until it’s nice and combined, and yes, you should definitely scrape the bowl down. Actually, give it a scrape right now.
These cookies are a holiday classic, and if you’re making a cookie platter, you basically have to make them. I encourage you to use your favorite jam for this, or like your family’s favorite jams, so it doesn’t have to be all strawberry. You could have some apricot, fig, guava, blackberry, whatever you want, just so everyone can choose their own and they know that you know what their favorite flavor is. Okay, mix this up. If the egg whites can go into your fridge or freezer, you can use them in your omelet tomorrow or freeze them for a meringue later. This is all mixed up; it looks great. Now we’re gonna measure out three cups or 360 grams of all-purpose flour.
These cookies are really like a shortbread style, except they have the egg yolks in them, which is gonna make them a little bit more substantial. Shortbread has that melt-in-your-mouth consistency, and these are gonna be like, just have a little bit of a crunch to them. Time to add our flour into our wet mixture, there we go.
We’re gonna mix this on the lowest setting until it is just combined or almost combined. I always like to finish off my batters by hand because then I know I’ve taken it just to being mixed and I’m not over-mixing the flour, activating the gluten, and having tougher cookies. They should really have a tender, melt-in-your-mouth quality to them.In fact, this is not mixed at all, but I am gonna give it a little bit of a head start with a scrape down. Okay, back to the mixer working. By the way, you can take this recipe and do so many different things to it. If you want to add some Christmassy spices in here, like some cloves and allspice, that would be nice. If you wanna have a glaze going over the top at the very end, you could do that. I might roll some of these in granulated sugar for a little bit of extra sparkle, but it’s really up to you. As long as you have these ingredients down, the cookie can go in so many different directions.
That looks nice. I got distracted talking to you, and I didn’t finish it off by hand, but it’s mixed well. I will point out one thing for this recipe. Chances are you’re making this on a cold wintery day, and even if you warmed your butter up in the microwave, your countertop is gonna be ice cold, and your mixture just might tend to kind of seize up a little bit or be firmer than you might expect. That’s fine, we’re gonna chill the cookie dough and that’ll help bring things together. But you can really just warm the butter up a little bit more than you might think necessary, or just warm it up right before using it, because I’ve had this happen before in recipes where you get all my ingredients ready, my butter is nice and perfectly room temperature, but then it sits on the counter and turns rock hard.
Boom, our mixer is done, thank you. Always a good idea to use your spatula and just check around and make sure there’s no clump of butter or stray flour that hasn’t mixed in. This looks really nice. And just so you see, your dough should be really formable and clumpable, like really nice Play-Doh. It’s not really cracking at all. It’s a supple, beautiful cookie dough. If you have a one-tablespoon cookie scoop, this is gonna be so easy. Just scoop your dough out like on a conveyor belt, and once it’s all scooped out, we can roll and shape it. That’s the easiest way to do it. If you’re eyeballing it, that can work too. But it’s nice to have cookies all the same size so they bake evenly. It’s not just because you’re a little fastidious and you like things to be perfect; it’s because it affects the bake time. If one’s a little bit bigger, one’s smaller, the smaller one might be a bit too crisp. The big one might be a bit too soft. It’s up to you.
My last cookie is getting scooped. Now we’re gonna roll these out so they’re nice and smooth little balls. It does not have to be perfect, though, don’t stress. And if your dough is cracking, just kind of press it together or keep working it in your palms to warm up the dough. Place them onto your parchment-lined baking sheet. Use your thumb and press down to create an indent, but go slow; it’ll reduce the chance of cracking. And if you see any cracks, just press them together.
These look really cute, but I am gonna show you how to make some very cute heart-shaped indents. They’re a little bit more work, but I think they’re kind of worth it.Okay, I’m rolling my last ball of cookie dough. It’s been a journey, and now that it’s nice and smooth, I thought it’d be fun just to roll it in some granulated sugar. You could use sanding sugar if you wanted to. And I wanna see those bake up.Now in an assembly line, gently press down, smooth out any cracks, and press down with your thumb. Just continue this until all the cookies are done, except for the hearts. This is the part that’ll be fun to show you.Okay, if you wanna make a heart, I would use my pinky or index finger instead of your thumb, and just press down twice. So once with your left hand, once with your right hand. If that seems like a lot, you could find a little rounded edge on a tool, this is a salt spoon, and just press down like that too, and it’ll do the same thing.
It’s not gonna look perfect, but I think it looks pretty cute. The bottom looks crazy because of my nails, but once it’s filled with jam, nobody’s gonna know.I have two baking sheets’ worth of cookies. These guys need to chill, though. So one hour in the refrigerator or longer if you need, or half an hour in the freezer if you’re in a hurry. Then we can fill them up and bake them.As soon as your cookies come out of the refrigerator, set your oven to 375 so it’s nice and hot. One hour later, and these guys are nice and firm, so it’s time to fill them up with half a teaspoon each of your favorite jam. Brian and Lachlan love raspberries, George loves apricots, and I’m fond of blueberries, so we’re gonna do all those flavors. Grab a little half teaspoon and get a cute little dollop of jam and pop that right into your cookie. Repeat that process with all of your cookies.
I’m making my heart red so they get the raspberry. I’m using a little brush to nudge things along, but that’s totally optional. It’s a little Virgo, I’m just gonna put it out there.
My thumbprint cookies are ready to go into the oven, 375 for 12 to 14 minutes. In you go. The blueberry ones are mine, but those hearts are so cute, I can’t wait to show the kids. That is so nice! The cookie melts in your mouth; it’s perfectly sweet, with my favorite jam in the center. It has all the delicious holiday vibes I could ask for.
I hope you get a chance to make this recipe.
