
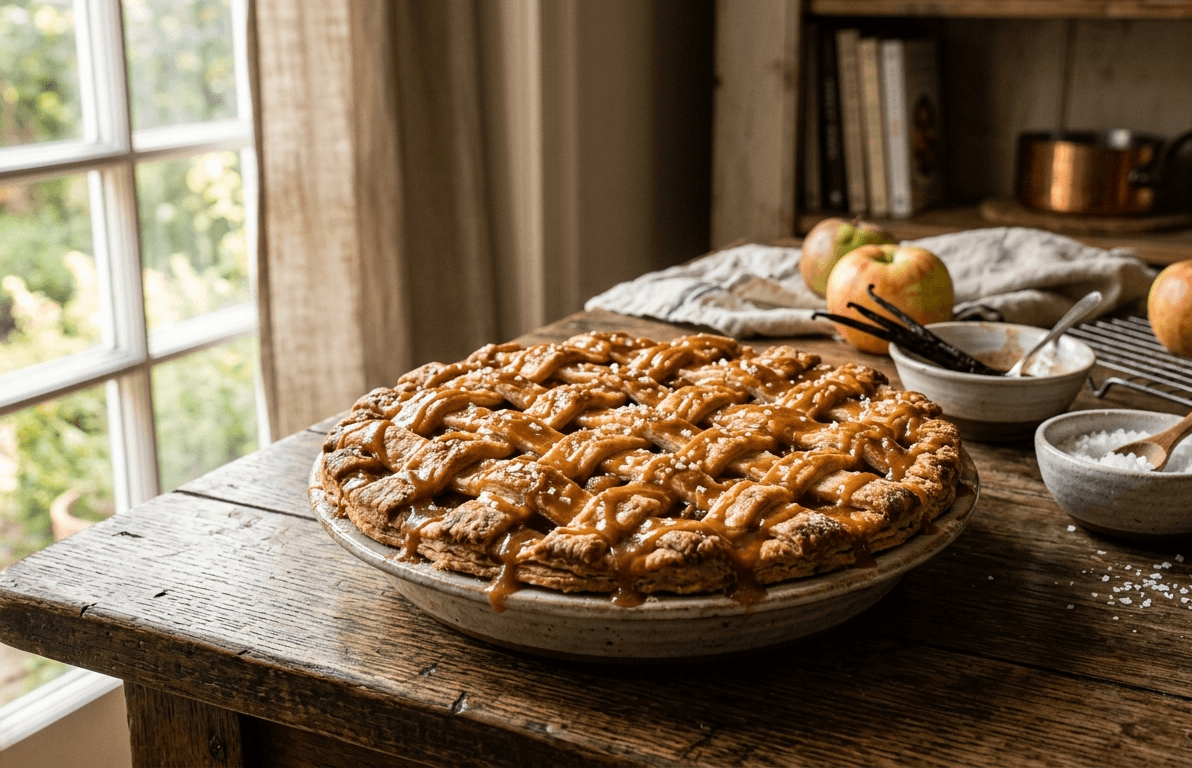
Hi everybody, it’s Rachel Parker, AJ Zorvella Bakes. In this blog, it’s an all-American classic apple pie, but not just any ordinary one. No, it’s got a salted caramel mixed in there with it, two kinds of apples, and the best buttery flaky pie crust you’re ever going to see. This is how you top off dessert at every meal with a homemade apple pie.
Hi, thank y’all for stopping by AJ Zorvella Bakes. What’s more American than apple pie, baseball, and cowboy K Rollin? That’s what I’m talking about, folks. Let’s make some apple pie.
Pie crust now. I’m not talking about the ones that come in the little box that you find in the aisle at the grocery store. Sure, I have used a bunch of them, but we’re talking about making something that’s buttery, that’s flaky, that’s ooh so goodness. And I’m going to tell you what, the ice box is your pie crust’s best friend.
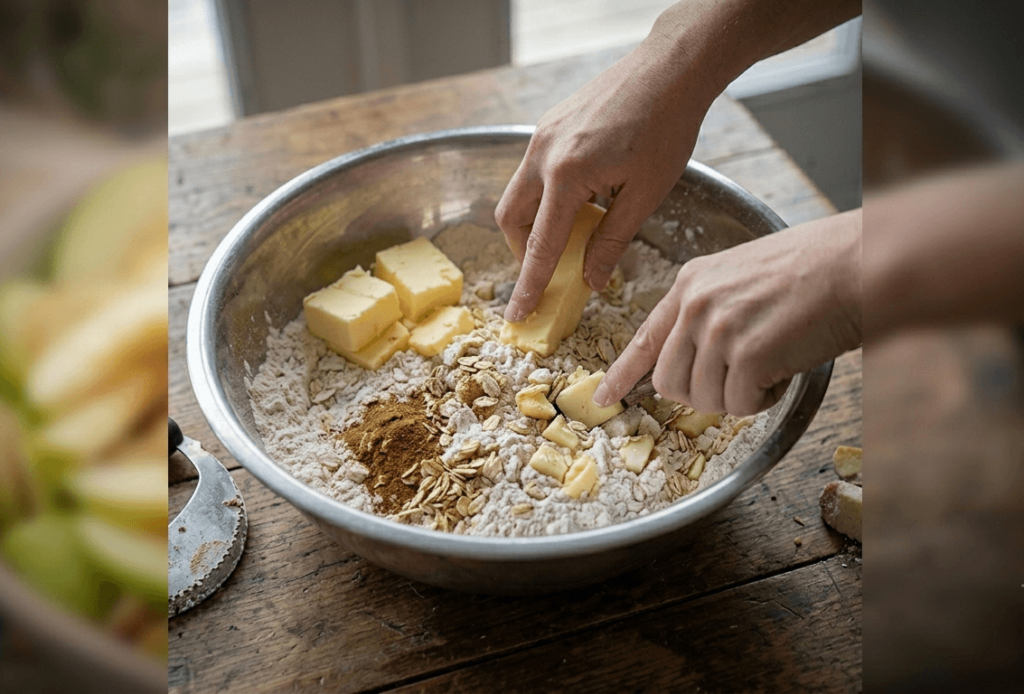
Now to start this off, about an hour before you even get ready, I need you to get yourself some of that Crisco that’s in one of those little deals and just toss it in the freezer part. It’s got to chill really well, and the butter has to be so, so cold. It even helps if your flour is cold. It even makes a difference because you’re going to get all that flakiness and that butter is going to stay in there. It’s going to be really good.
So to start with, we’re going to add some all-purpose flour. So we’re going to add that flour, the least amount that we can put in there, which is about 2 and 1/2 cups, a good shaking of cinnamon, and if you don’t like cinnamon, you don’t have to put it in there, but I sort of like what it does to the crust, and some salt. We’re going to mix all that in there really well, and your baking powder.
Now, chilled butter is hard to really maintain out here in Mother Nature’s kitchen sometimes unless it’s freezing, but I like to cut it to where it’s pretty thin, or if you’ve got it really cold or you want to drag it out of the freezer to use it, use a cheese grater. It will work really well as well.
So my butter is not as chilled as it once was because here it is nearly 80° on this day, and the Crisco, same way. I like to keep it as cold as I can, and we’re going to cut it into slices similar to the butter. And you know what comes next, either two forks, a fork and a knife, or a pastry cutter, and let’s cut all this little fat into that little flour, cracker crumb consistency. It is okay, just sort of like cracker crumbs. That’s that butter and that Crisco, and that’s what’s going to make all this flakiness and get this to pop here in a minute.
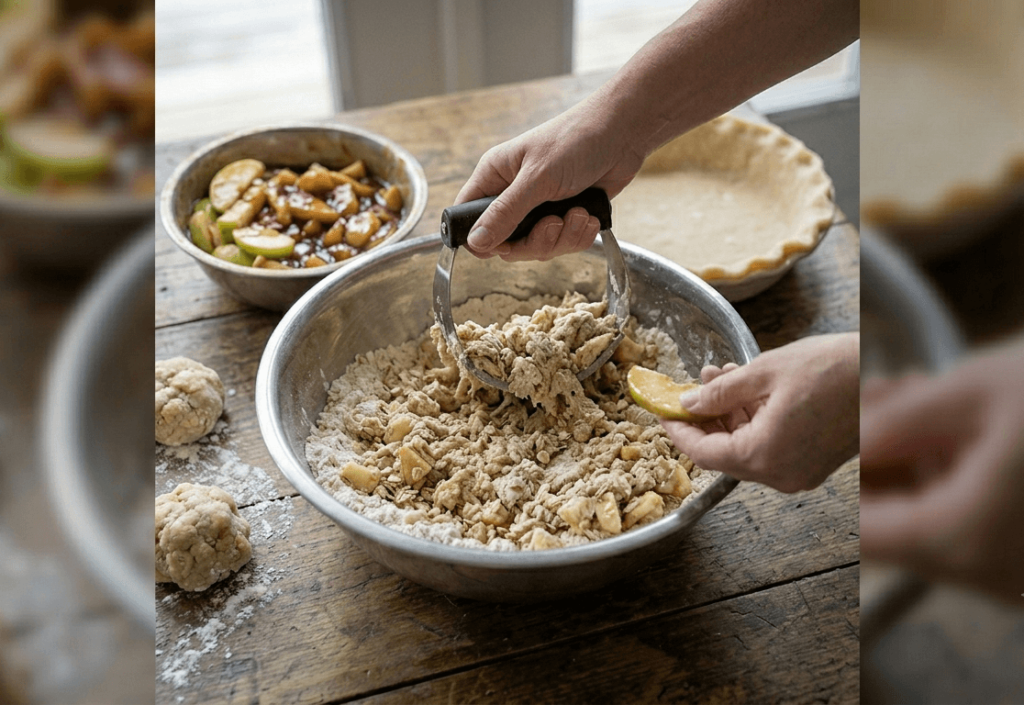
So we’re going to go ahead, and you’ve got to have ice water. Yes, thank goodness for ice. I have some ice water, and we’re going to add a fourth of a cup, but we’re just going to do it in increments so we ain’t oversaturating the whole market at one time. So I like to just get it all the way around here a little, go ahead and go to folding that in as you go, and you can see it start to ball up just a little in different places. We’re going to add a little more, keep stirring it around, folding it in. The rest of the water goes in for the time being. There may be a little more here before we’re through.
But y’all ever heard of vodka in your pie crust? Now I have heard of it, never used it, but the alcohol in there would help sort of do away with some of this I-ain’t-going-to-rise stuff and make it pop a little bit more. The same thing applies if you use Apple cider vinegar. And since we’re making apple pie, what would be more appropriate than apple cider vinegar? It’s going to help that crust puff up and make it flaky.
So pour a little of that in there, keep stirring. When you get ready to where you can put your hands on this, you want it to be wet, but you don’t want it to really stick to you. So you can see as we pull that up, it’s sort of all still together, and that’s what we’re after, because we’re not going to knead this dough. We just want to make sure that it stays together really well. So I need you just to make sure that it sort of gets coated with flour.
Now I need you to sort of- I love to do it this way. I love to make it into a brick, and then we’re going to cut it in half. Get this pie dough made because it needs to chill for at least two hours in the icebox. Now you can let it go 24, but it’s got to chill. That’s what’s going to make things right. Cut her smooth in half. Go ahead and ball this up on this side, and we have two little discs of dough here, and they’re going to get wrapped and set in the ice box.
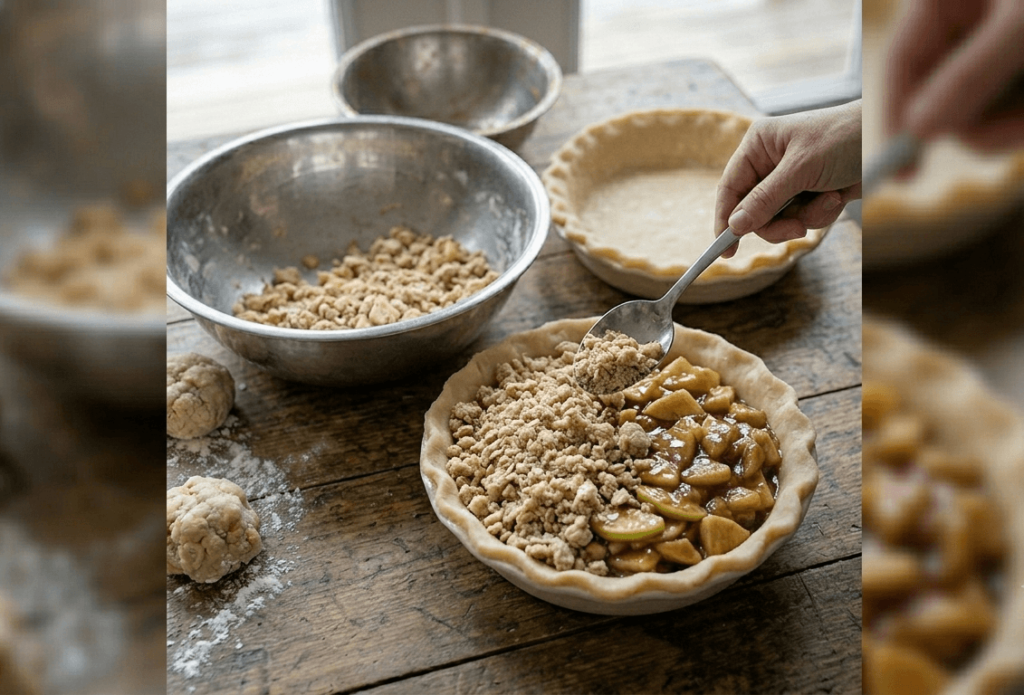
Well, apple peeling time it was. Now you can see we have combined apples. Yes, we have, because I think that brings out the most flavor in apple pie. Get them all peeled, cored up good, sliced pretty well uniform in size, so everybody’s going to have the same bite. And then what comes next? We’re talking about some sugar. Which is the right amount? And we’re going to put some brown sugar in it too because I like the flavor that it brings to some apples. And then some flour, not all of it yet.
I want you to toss the apples in there to give them a really good coating. Then we’re going to add a little cinnamon and give it a little mixing. What is next? A little more of that flour and something that I really think is going to help set this up and make it more caramelly and more goodness. a little bit of cornstarch, about a tablespoon full. Give it one more really good mixing, and something that we got to have in there that’s going to protect these apples and give them a little tartness too, to make them sit there and pay attention. It’s a little bit of lemon juice. Don’t take much.
Well, two hours it has been, and our dough is chilled up and set well, and I think you can see those little chunks of that good Kerrygold butter sitting in there thinking, I want to make a pie crust. So just flatten it a little with your hand and then just take that rolling pin and let’s try to make it round. Look at all that butter in there.
A circle right off the bat, I got pretty close. Now you could cook this in a regular pie pan, you could, at 375° in the oven, probably 50 to 55 minutes. But guess what? Today we’re using the ever-popular 10-inch cast iron oven. Now it is the perfect size to make pie in, but if you ain’t got one of them and you have a 12-inch oven, a pie plate will fit right inside that, so you’re pretty good to go.
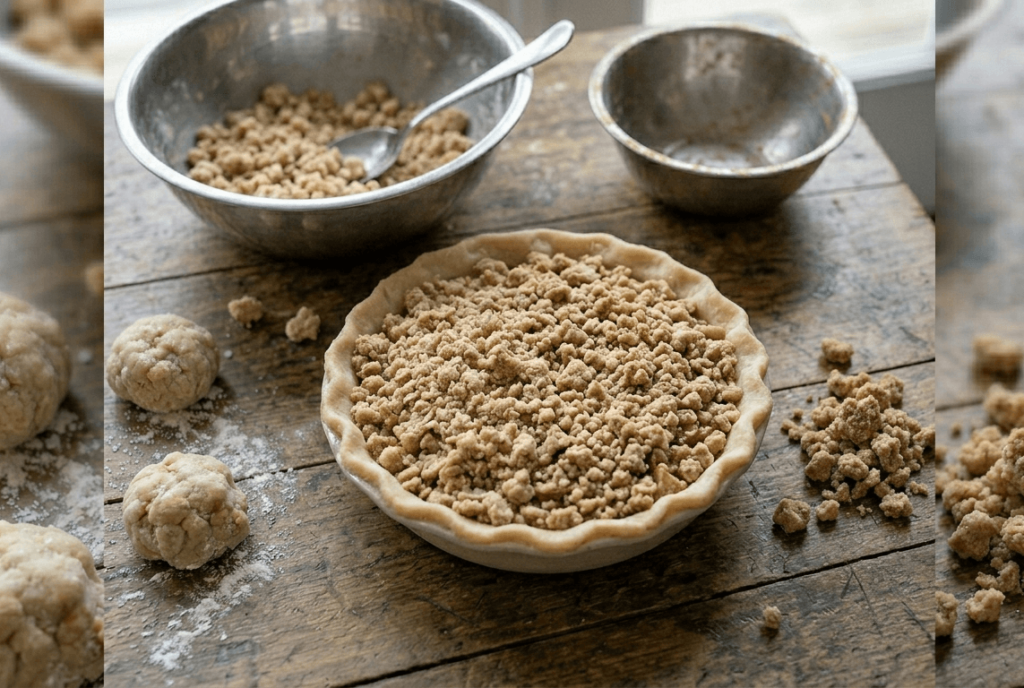
Now cold dough, so nice. I need you just to take it. I like to bring mine right back up here like this. Move our little oven over here, try to put that in the center, and then just go to lifting the dough to where you can get the bottom in here without a crease.
Now it’s a little harder in a Dutch oven than it is in a pie pan, but you can see as we roll that up there really how thick that crust is, and that is what I like. I like a good, really thick crust on the bottom.
Pie dough is ready. It is in the pan. What them apples? And look, see how they sort of just made their own little juice and liquid here. Another jumper. So just go ahead and let’s get them laid up in there.
Now you’re thinking, hey, that’s a lot of apples. It’s sort of like y’all see me cook with meat, ain’t you? You ain’t got to look for an apple in an apple pie. I want there to be an apple in there. We’re going to pack them and sort of put them in there in the right order.
Let’s get that caramel sauce over here and we’ll get it in the apples. The caramel sauce, we call it easy caramel sauce, we is, because really all it is butter, cream, cornstarch, white sugar, brown sugar, little vanilla. Give it a little stir and let it come up there till it gets good and thick. And we’re going to what? Add us a little salt because remember we said salted caramel.
Now if you’re using this kosher salt and this is really coarse, I would say probably maybe a half a teaspoon, a teaspoon, or half a tablespoon to start with. We’re going to stir it, and we’re going to taste it because I want to get that sweet, but I want to get that salt also.
So let me have a little. Ready? That stuff right there should be at the state fair, I’m telling you. Now let’s go ahead and drizzle us a half cup on here, and we’re just going to eyeball it, folks. You tell me when you think it is half a cup.
We’re going to put a pie crust on top. We’re going to break out a little cowboy craftsmanship here and do us a lattice weave cross all the way across through there. Now lattice work ain’t real pretty, but oooh it sure is tasty, and I’ll give you all the tips and tricks I know on it anyway. So let me get that dough rolled out and on the top.
Well, we got her on a trivet, and what are we using? A 5-inch trivet. Now you know the wind is blowing pretty hard out here today. You’ve seen the flour leaving, so coal placement is pretty light and not directly ever under a pie when you’re baking, but on the outside edge. And we’ll have to do plenty of rotation on this, the way the wind’s blowing. We may even have to pull some heat back every once in a while, but you want to start pretty slow. Let everything gradually warm because when you’re preheating an oven at home, it ain’t the same out here.
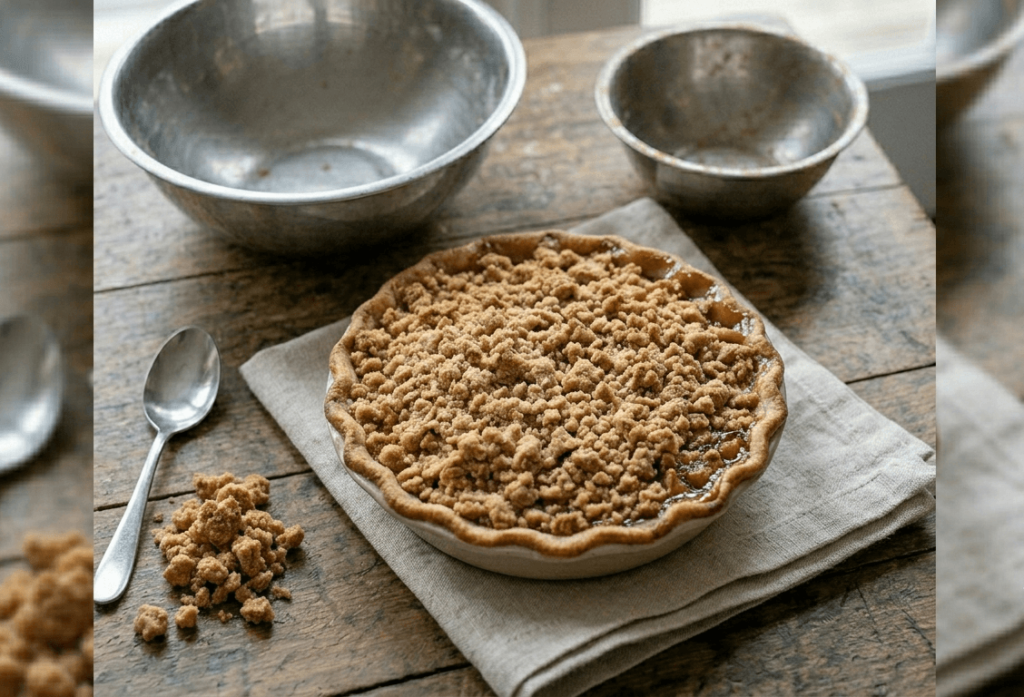
We cannot preheat that cast iron and then put a pie crust in it. We have to start from just room temperature and go from there. So everything’s got to warm up a little, then things will go to baking, and we’ll show you a little trick that’s really always worked for me on how does that crust feel around the edges to know that the bottom is done.
Now while we got that off, I remember I told you I was going to show you a tip and a trick to know when that pie crust is near done on the bottom. Put your finger over here and see how much give that crust has in it going down. It needs to be to where it’s pretty well set and it doesn’t have no, I really want to mash down to it. We like a little.
We’re going to try to brown that top up evenly, we’ll get that bottom done, and then we’re going to let it cool. Folks, I want you to look in here and see the layers in this pie crust. That’s what we’re calling flaky goodness of pie crust.
Folks, ain’t that pretty? And look at this edge right here. See that? I mean, look at this pie crust on the bottom. That’s professional. I mean that is what you call I got lucky. Uh-huh, in the wind I did.
Folks, I’m going to tell you something you need to know right off the bat with this pie. When you cook it, if you’re going to have it that night, cook it that morning. This pie needs to sit for at least four hours to set up, congeal, and be just right. We rushed ours a little today because you can see sunlight is fading, but let it set for hours. Keep everybody out of it. Don’t even let them touch it.
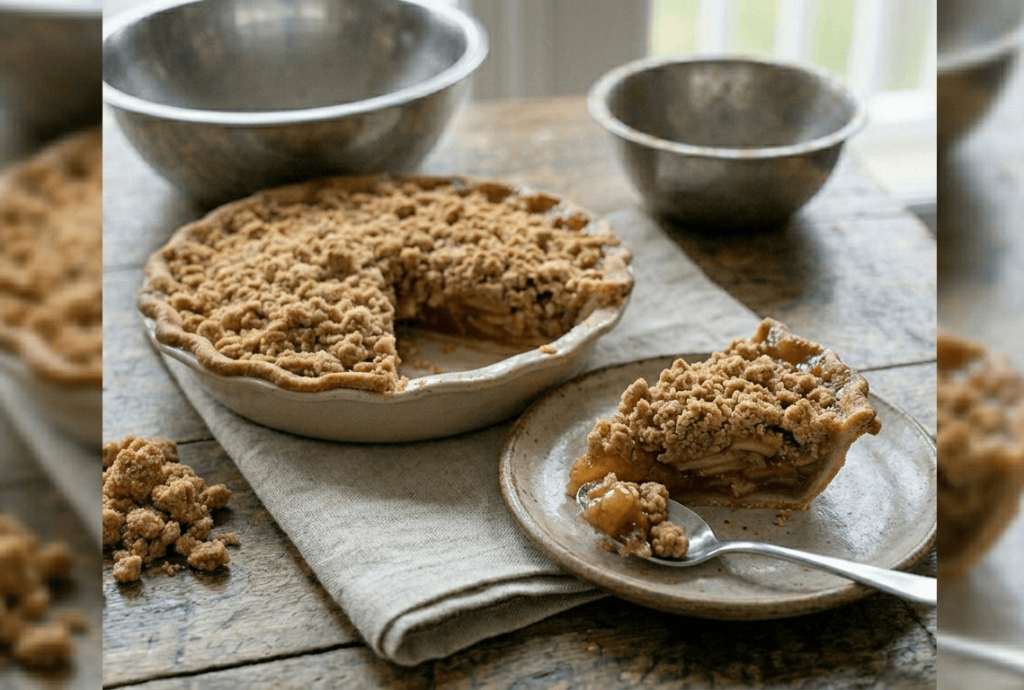
I am going to have a piece of this. Get me some of that pie crust with those apples, and you’ll see us drizzle like caramel sauce right on the top of it. Oh my goodness gracious. Praise the Lord, pass the biscuits, but first pass the pie with the salted caramel.
